Saturday was a very special day.
We held a pumpkin carving event at our school.
Our pumpkins this year were very, very big.
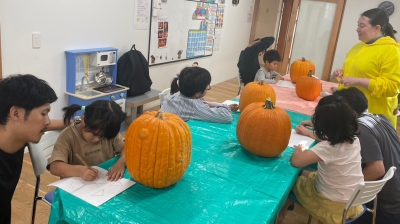
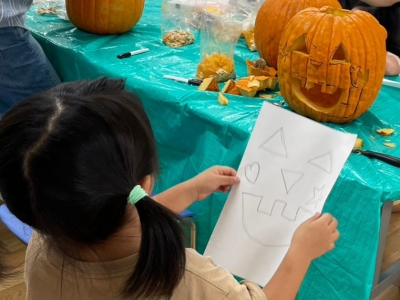
The first step to carving a pumpkin is designing it.
After taking a look at some standard designs, students got right to work.
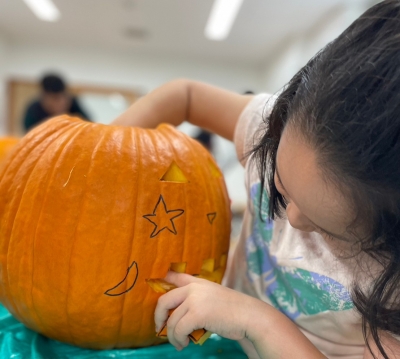
Once students had settled on a design, they drew that design onto their pumpkin.

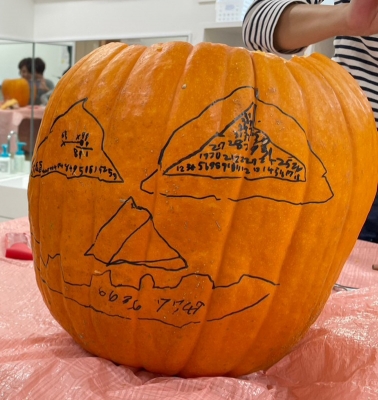
Some designs were simple, some more complicated.
One student even had fun writing math equations in areas he knew would be cut out.
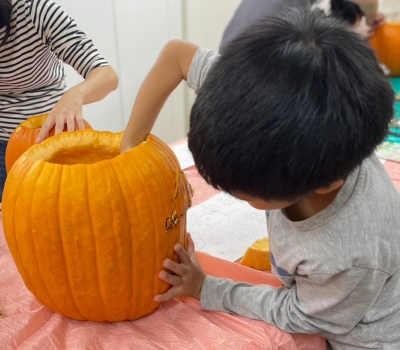
Before carving the face, first the ‘hat’ of the pumpkin needed to be cut off.
It took some time to cut through the thick pumpkins, but students were soon able to pull the top of their pumpkin off.

It does make a stylish hat.
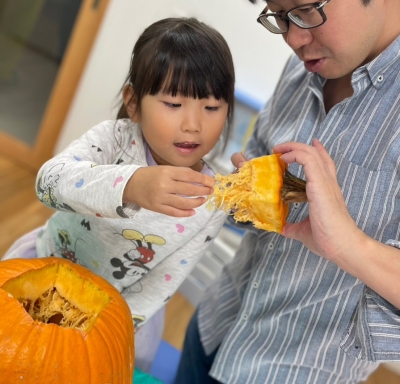
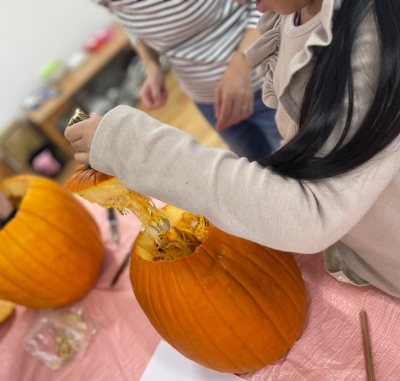
The inside of the pumpkin felt so slimy.
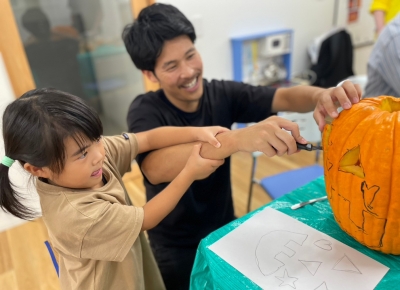
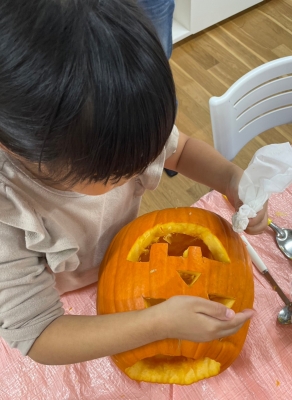
After cleaning out the insides, the adults got down to carving the pumpkins.
Students helped out where they could, but were reminded that knives are dangerous.

It was fun to pop the pumpkin pieces out from the inside.
They inspected the final pumpkin.
Does it look like your picture?
To finish off their pumpkins, students used alcohol to wipe off the black lines.
Take a look at our pumpkins.
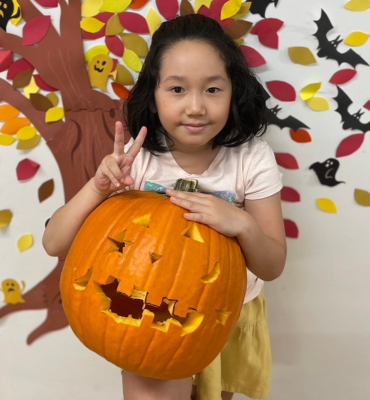


They were heavy, but everyone wanted to try and hold it up for their picture.
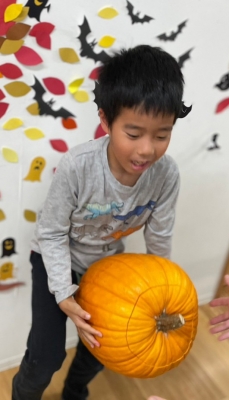
One almost fell, but was saved just in time by Dad.
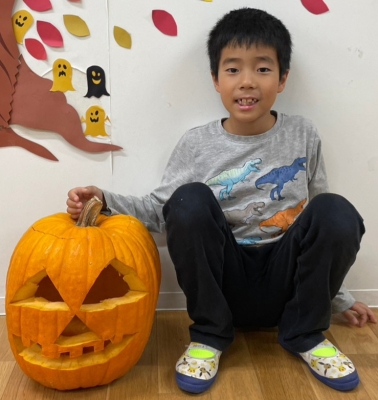
This pumpkin was too big to be held up.

Everyone did a great job with their pumpkins!
Signups are still open for the Zombie Cafe event next weekend.
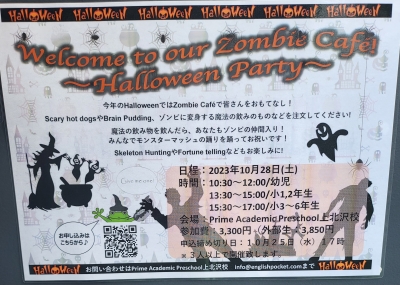
We hope to see you there.
Alita